Creating a DNS Request
Learn how to create new DNS change requests with domains and templates
A DNS request lets you define and share the DNS changes your client or team needs to make. It’s the starting point for managing records, tracking updates, and ensuring everyone stays aligned.
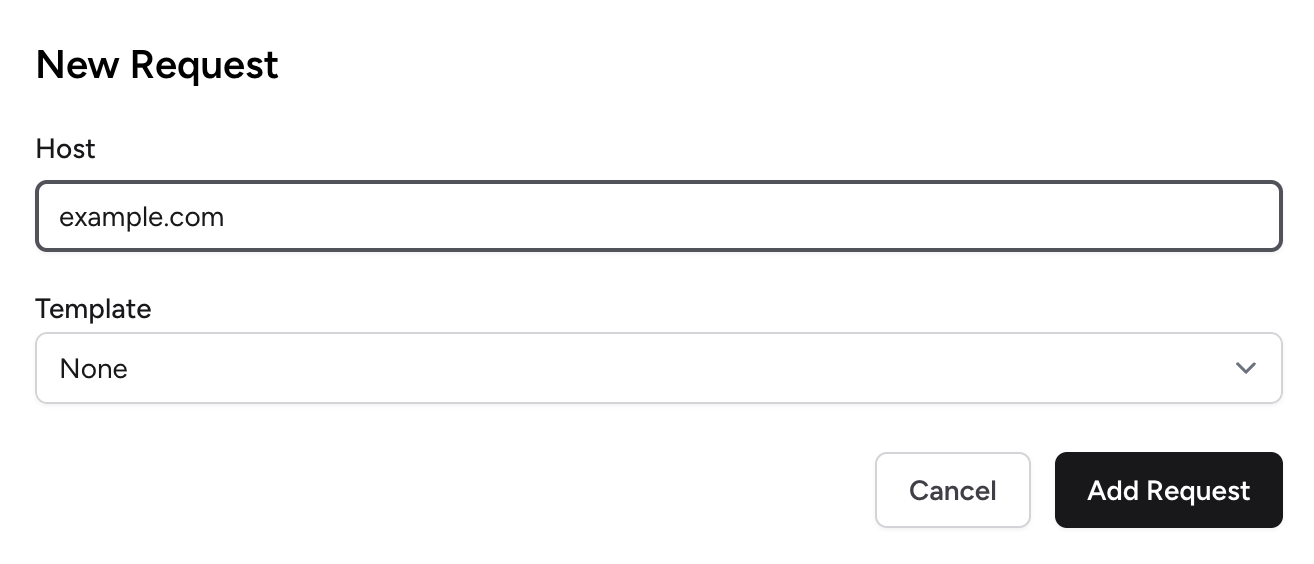
How to create a request
- Go to DNS Requests in your dashboard.
- Click New request.
- Enter the domain or subdomain you’re working on.
- (Optional) Choose a template to prefill common DNS records.
- Click Save.
Once created, you can open the request to add DNS records, invite recipients, and track its progress.
Add DNS records
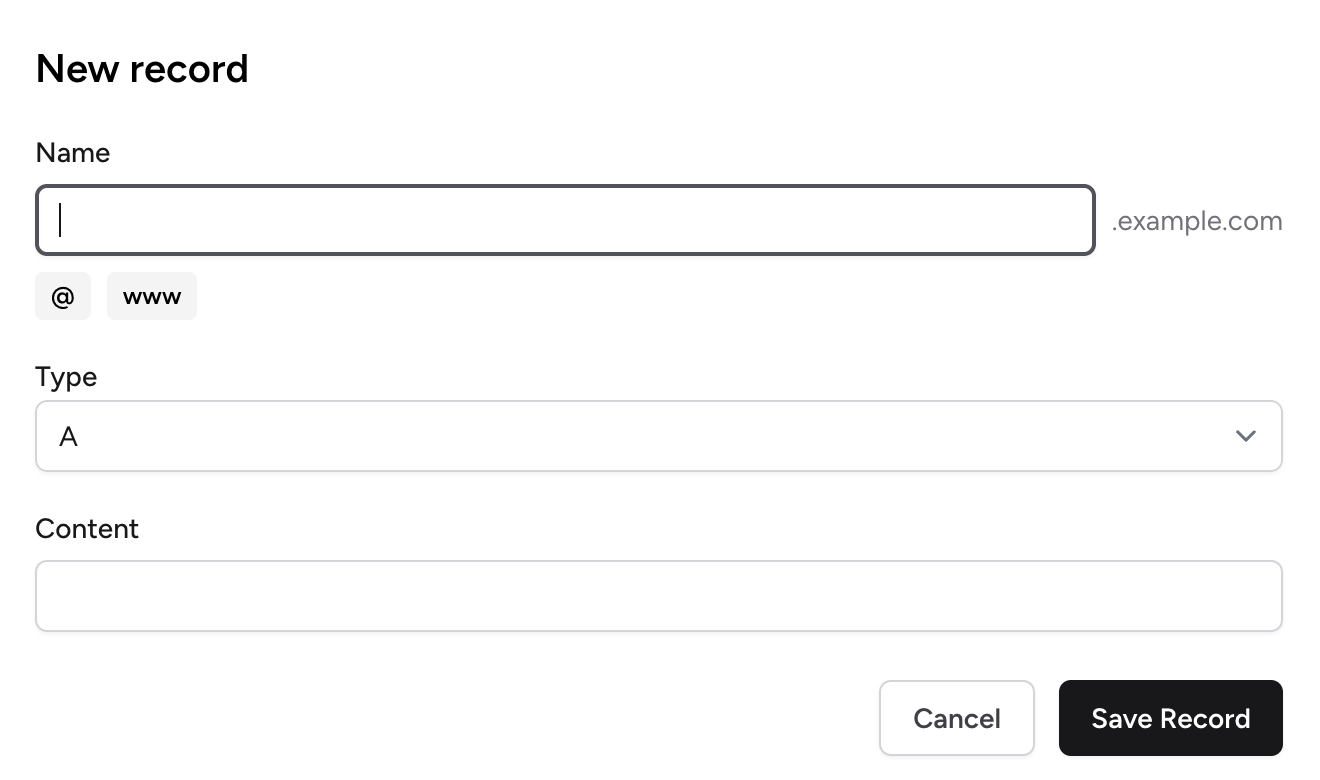
After creating the request, define the DNS records that need to be added or updated.
- Open your request.
- Under DNS Records, click "Add a record".
- Choose a record type (A, CNAME, MX, TXT, etc.).
- Enter the name and value.
- Click Save to add it to the list.
You can add multiple records to a single request.
Next steps
Once your records are ready:
- Share the request with your clients or teammates.
- Track its progress as records are implemented and verified.
DNSDone automatically monitors propagation to confirm when the changes go live.
Tips
- Start with templates for faster, more consistent setups.
- Keep one purpose per request (e.g., email setup, CDN change, migration).